Center Dash Vent Rebuild Kit — Install Guide
To the left of the center vent is either a gauge or a blank panel. Use a trim tool or a flathead screwdriver wrapped in a cloth to gently pry it out from the front. Work slowly — the surrounding plastic is 40+ years old and doesn't forgive a rushed pry. A finger in the right spot can often pop it without tools at all.
With the gauge or blank out of the way, you'll see a screw behind it that secures the vent assembly to the dash. Remove it with a Phillips screwdriver and set it somewhere you'll find it.
The assembly pulls straight out toward you. No clips, no rotation — it just slides free once the screw is out. Set it on a clean surface.
Dave Barton's site has the definitive photo walkthrough of this step — how to open the housing, remove the old blades, and prepare for the new ones.
↗ Full disassembly walkthrough — Dave Barton · 240turbo.com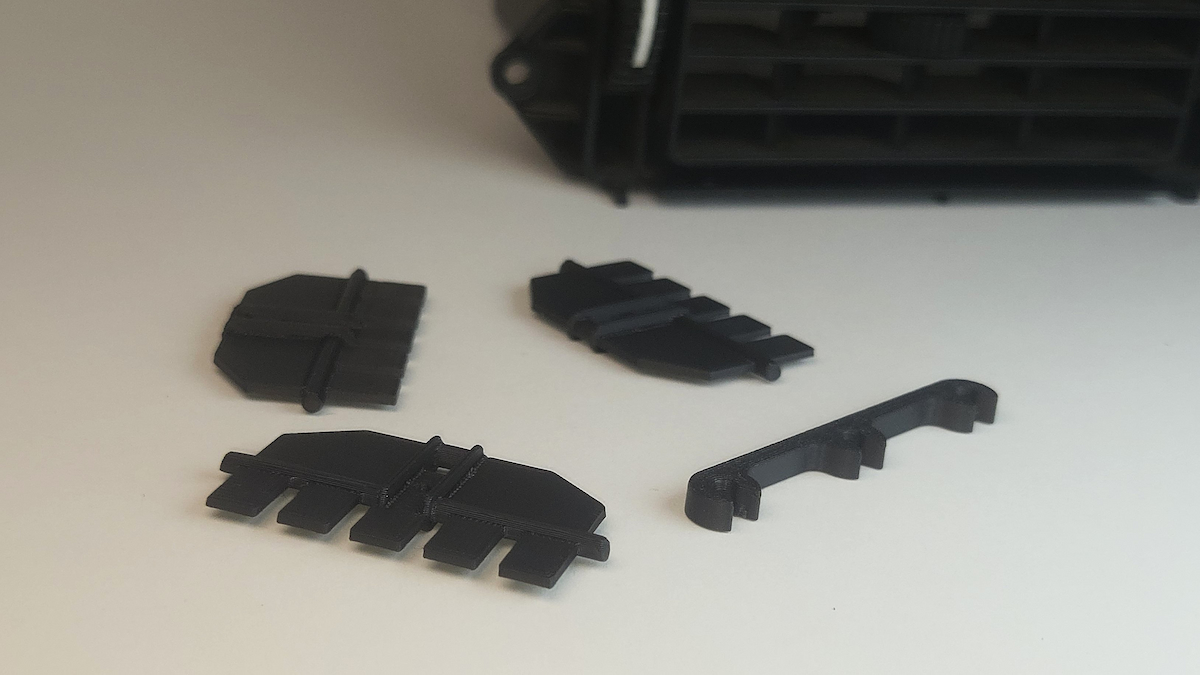
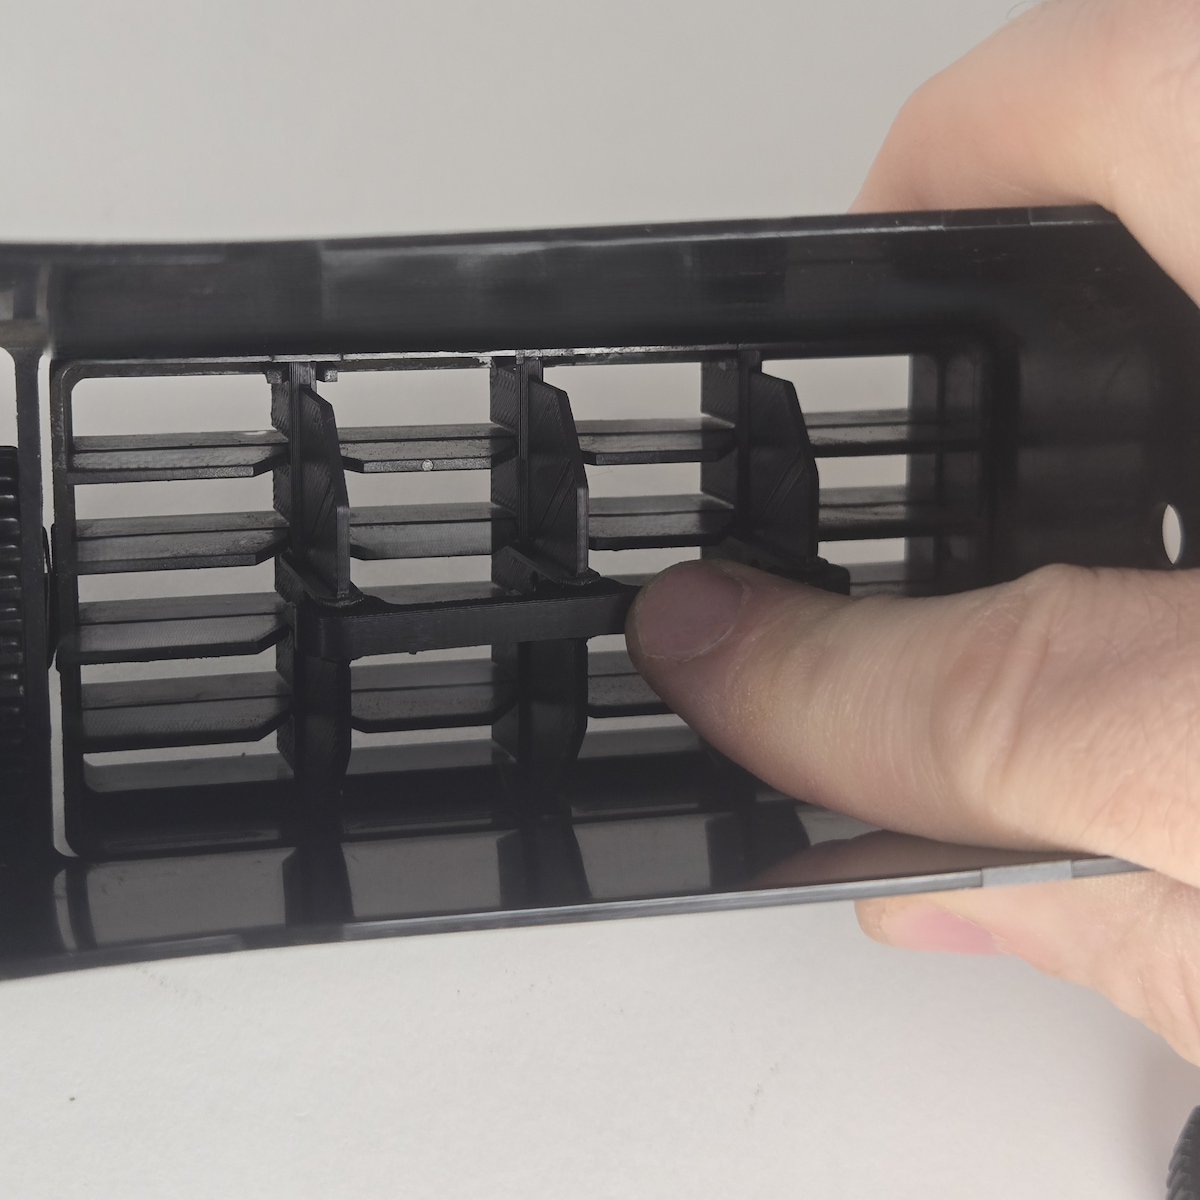
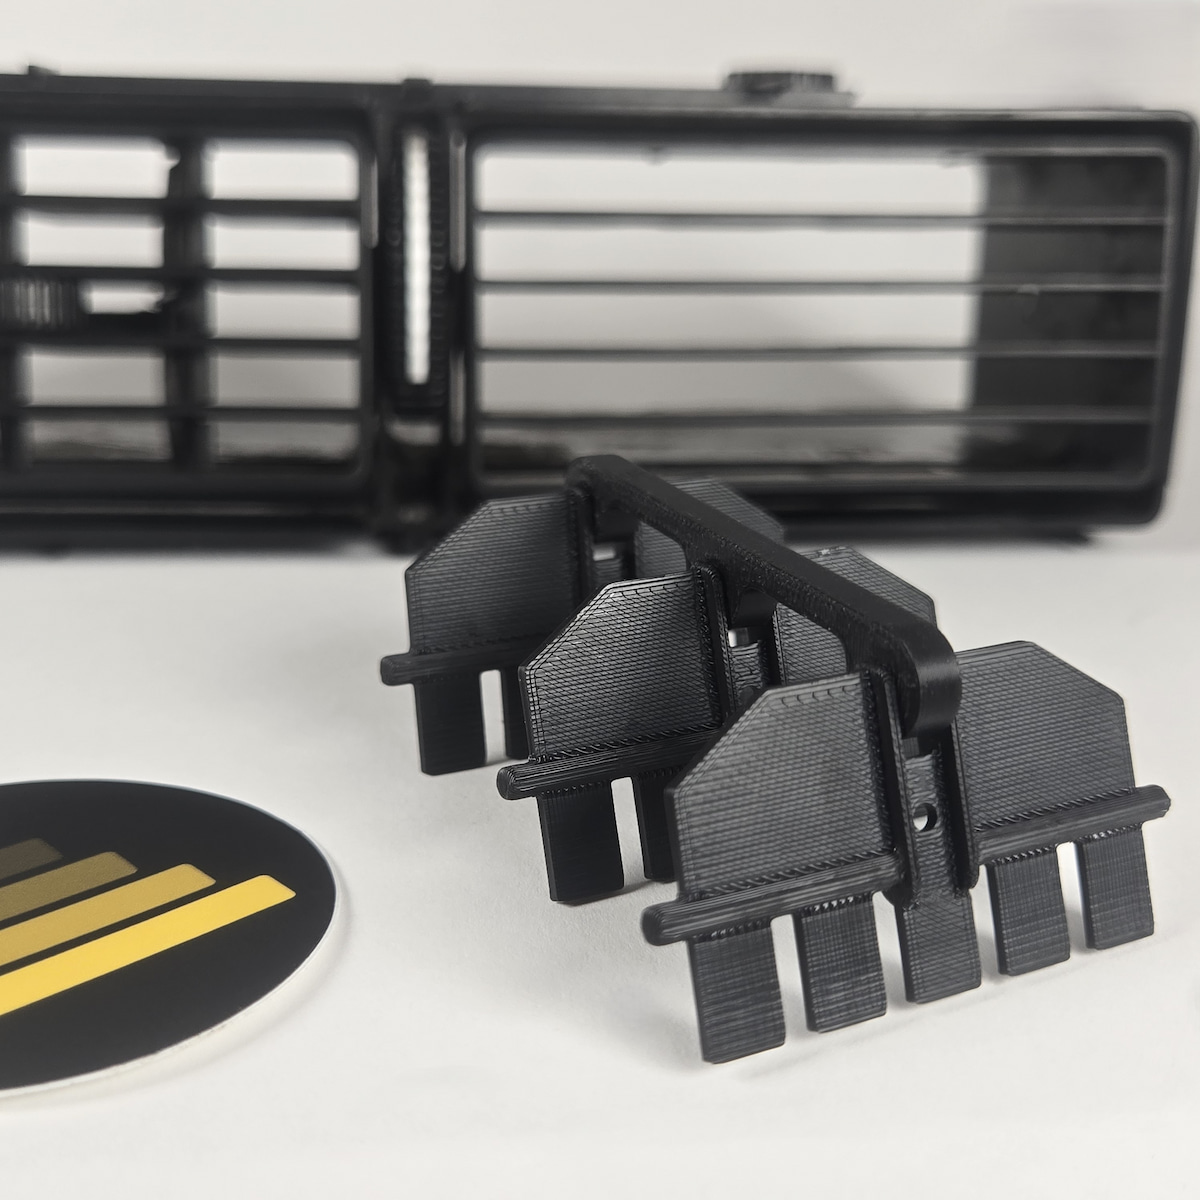
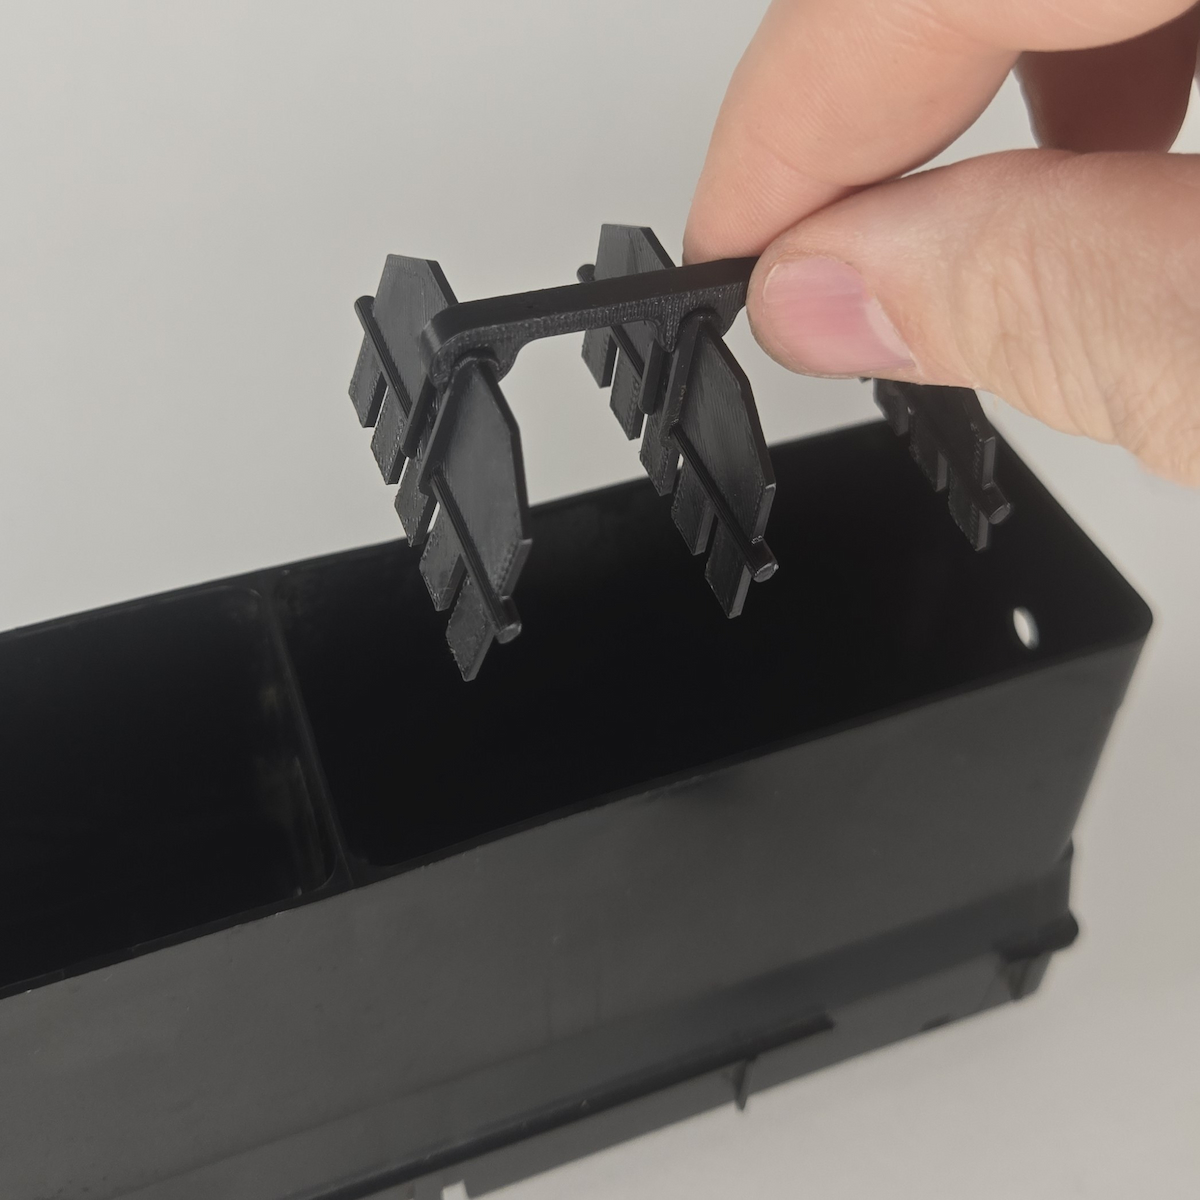
Snap all three replacement blades onto the linkage rod before positioning them in the housing. Then work from one end to the other, snapping each blade pin into its hole. The blades go in easiest if you slightly lift the upper horizontal slat and flex it gently to guide the pin home, then repeat on the lower side. They snap in with light pressure — if you're forcing it, recheck the alignment.

With the assembly still in hand, move the louver lever side to side and confirm the blades rotate smoothly and hold their position. Catching a misseated pin now saves pulling the assembly back out after the fact. If a blade feels stiff or skips, press the pin home and recheck.
Slide the vent assembly back into the dash opening straight on — no angle needed. Push until it bottoms out flush with the dash face and is no longer protruding. The screw tab will line up with the hole. Drive the retaining screw back in and reinstall the gauge or blank panel.