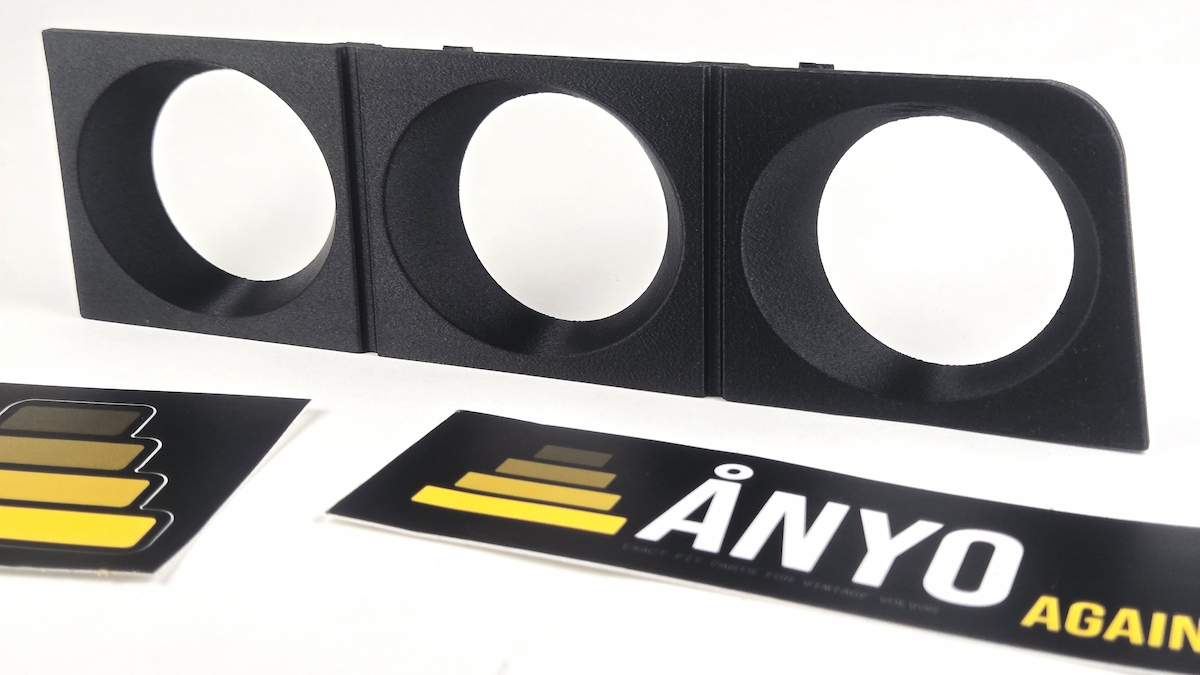
Triple Gauge Bezel — Install Guide
Directly to the left of the triple bezel is a single gauge location — either a gauge or a blank panel. Remove it first using a trim tool or finger at the edge and pulling straight out. This exposes the lower left mounting tab on the triple bezel.
With the adjacent opening clear, you'll see a mounting tab at the bottom left of the triple bezel. Gently lift up on it to disengage it from the dash. This is the key tab that holds the bezel in place — releasing it first makes the rest easy.
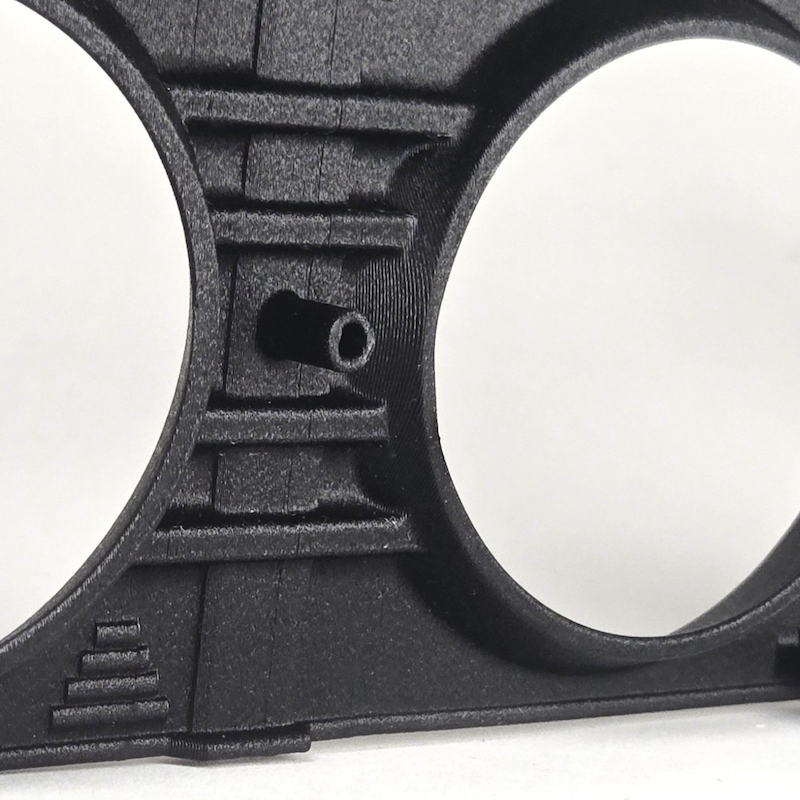
With the lower left tab disengaged, grip the left side of the bezel and pull it forward gently. The remaining tabs around the bezel will release as it comes forward. The bezel is a trim cover — the gauge mount behind it stays in place. Set the old bezel aside.
Tip the new bezel slightly forward — nose tilted toward you — and position the lower tabs into their corresponding holes in the dash opening. Getting the lower tabs seated first gives you a pivot point for the next step.
With the lower tabs engaged, rock the bezel up and back toward the dash. The top tabs will click into place as the bezel flattens against the dash face. Reinstall the adjacent gauge or blank panel to the left.